Headed out to do the Neve Traverse this Spring? Get some ideas and a better idea of the route here! Did I leave something out? Questions? Leave a note in the comments below. Updated Spring 2021.

The Garibaldi Neve is a 40km traverse usually completed on skis but also by snowshoe. The best conditions usually present themselves in spring but good travel can be had throughout the winter and into early summer. The trip can be completed North to South but by travelling South to North, it is a net elevation loss and therefore preferable. In this direction, elevation gain is 1700m. The Neve is routinely completed in less than a day but most parties choose to spend at least one night camping along the route. There are several huts located along the route that allow travellers to forgo carrying a tent though many choose to anyway.
This description is written for groups travelling South to North though the same basic ideas apply both ways. The traverse is point-to-point and so several options exist for getting to and from the trailhead.
- Shuttle cars to both trailhead: Both party members drive separate cars to the Garibaldi Lake Trailhead. Leaving one there they drive back in one car to the Elfin Lakes Trailhead. After completing the traverse they drive together to retrieve the car from Elfin Lakes TH. This option guarantees a ride but involves lots of driving and gas.
- Two separate parties drive to separate trailheads and one completes the route N to S and the other opposite, trading car keys when they meet at the mid-point.
- Drive one car to Elfin Lakes TH and hope you meet someone who can give you a ride from Garibaldi Lake TH back to Elfin. This is risky but has worked for me when going solo Alternatively, it’s a time consuming hitchhike to get back to the Elfin TH but it goes!
- Leave one car at Extra Foods in Squamish and drive together leaving another car at Elfin Lakes TH. Ski out to Hwy 99 after the traverse and hitch hike back to the car in Squamish and then retrieve the second car from the trailhead. This is my preferred method when with a partner.
Section 1: Trailhead to Elfin Lakes Hut
The Elfin Lakes Trail represents a significant portion of the route and considerable elevation gain, mainly from the trailhead to the Red Heather Hut. The trail is actually a road leading to the Hut which is a good lunchtime stop and usually has several parties camping nearby. The shelter is designated for day use only so should not be used as an overnight option if possible.
From Red Heather Hut you can traverse North of Paul’s Ridge continuing along the road way. This route is faster with less elevation gain but crosses Complex avalanche terrain and is exposed to slides coming off the ridge. Most people follow the marked (wands) trail along the ridge crest that is generally safe in all but the most extreme avalanche conditions. Along the crest you skin up and down bumps all the way until descending to Elfin Lakes (usually covered in LOTS of snow). Pass the ranger hut and you will come to the Elfin Lakes Hut.
This large hut is usually very busy with lots of users and more parties camped outside in tents. If you are a light sleeper, sleep in your tent. The hut is equipped with stoves and bunks but no mattresses. Typically it is fastest to skin this entire section though it is possible on a good crust to remove skins at the high point on Paul Ridge and skate most of it with a few sections of removing the skis to jog uphill.
Section 2: Descent to Ring Creek
Descend North from the hut and cross a large clearing towards ring creek. This is a skins-on descent. Here you have to be careful to maintain the proper elevation (1425m), and cross several gullies without losing elevation. As you pass under the Gargoyles you must cross several large avalanche paths. These may be filled with hard debris and can be difficult to cross. You should cross them quickly and one at a time.
At the final path you see a clearing and ring creek below. You can click into ski mode and descend with locked heels instead of trying to free-heel it with skins on. You must cross to the East side of Ring Creek at this low point. I have seen several parties attempt to shortcut and stay on the West side of ring creek but a cliff and cornice is a roadblock. Cross the creek low and get to the East side. This can also be a good place to fill up water if you have a nalgene and some string to go fishing.
Section 3: Ring Creek to Garibaldi Glacier
This is the second long ascent of the trip. Follow Ring Creek North until reaching the flat Garibaldi Glacier. The slopes above to the west can slide and may be corniced so don’t linger. It is not advisable to camp in this area. Once you reach the Garibaldi Glacier you have attained the Neve proper. From here until Garibaldi Lake you are on Glaciers and should consider the use of a rope.

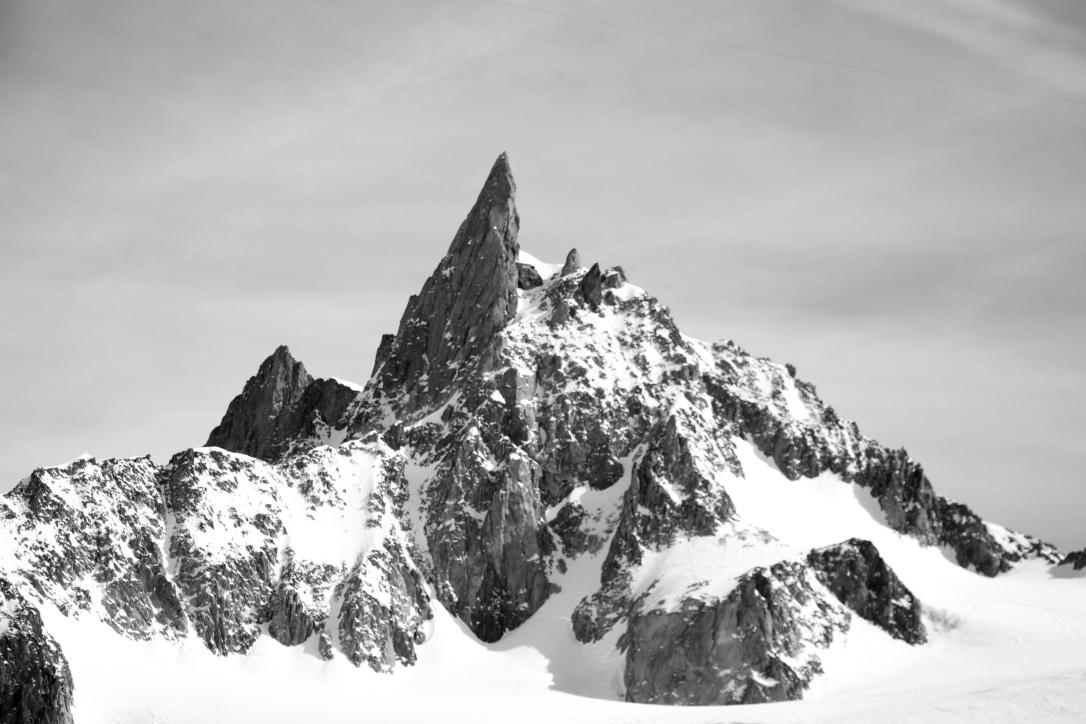
Looking across the Neve Proper from the top of Ring Creek/Garibaldi Glacier. The furthest right peak is the Tent and below it is the high point of the traverse. The three main peaks are Atwell, Dalton Dome, and Garibaldi.
Section 4: Garibaldi Glacier to Neve High Point
After a rest from the ascent, cross a long flat glacier. This is a common camping area. There are excellent views of Atwell and Garibaldi Peaks and across the Valley. On the other side of the flat glacier, continue to ascend staying generally to the right of the Tent – a large tent shaped peak (duh). Make sure not to climb above the high point of the traverse at 2050m.
Section 5: Descent to Garibaldi Lake
A cornice must be avoided and may require backtracking if you climb too high. A traversing descent leads through a crevasse band to the Shark’s Fin – an easily identifiable landmark. Early in the season, the crevasse band may require some care to navigate, though usually by hugging close to the rocks on skier’s left, the worst can easily be avoided.
At the Sharks Fin, skins can be removed for the short descent of the Warren Glacier to the col between the Sharks Fin and the Glacier Pikes at 1800m. Climbing up North of the Glacier Pikes, the Sentinel Glacier is attained and offers an excellent descent to the Glaciology Hut in Sentinel Bay of Garibaldi Lake. The Glaciology Hut is small and should only be used in an emergency. Parties wanting to stay should cross Garibaldi Lake to stay at the Sphinx Bay Hut or bring a tent. The day shelters across Garibaldi Lake can also be used.
Section 6: Garibaldi Lake to Garibaldi Lake Trail TH
In good conditions Garibaldi Lake can be crossed in under 30 min by skate skiing. In new snow, it can be a several hour slog. Upon reaching the Battleship Islands and the NW end of the lake, find the Garibaldi Lake Trail leading to Lesser Garibaldi Lake. Descend onto the lake and cross the Barrier Lake. This is a bit of a slog with skins off but can be scary with skins on.
At the far side of the Barrier Lake, the trail takes a short climb into the woods and links up with the Summer Trail just beyond it’s 6km Junction. From here the trail can be followed to the parking lot. Don’t be tempted to ski the trail with your skins on. It might reduce glide a bit but you lose a much more significant and important ability to use the edge of your ski. You also go much slower on the flatter sections. Try to sideslip the steeps and use your edges.
Alternatively, during a big snow year with snow to the valley bottom, cross Barrier Lake and follow it’s outflow to the Barrier, a steep descent to Rubble Creek. Stay skier’s right and follow ramps to the valley below. Cross the creek and watch for a boot pack or use your GPS to make a short boot up to the 4k junction of the Garibaldi Lake trail. It is generally not advisable to continue skiing the creek to the car unless the snowpack is huge. The upper portion of the Barrier can be a serious descent with variable conditions from powder to ice and everything in between. Don’t fall… It is SW facing so turns to frozen chunder in the morning and slush in the afternoon. The creek has huge avi slopes on all side. From the Trailhead, ski as far down the road as possible and meet your car or hitch a ride from Hwy. 99.
Gear:
The Neve is a relatively non-technical traverse so gear requirements are similar to that of a normal ski tour aside from a crevasse rescue kit and potentially overnight gear.
Ropes depend on the party but it’s a bit silly not to carry 2x 30m ski mountaineering ropes. More on ropes HERE.
Notes:
I’ve written another blog post about tips for moving efficiently on traverses. Check it out HERE.
Getting caught in a whiteout is always a possibility and could make travel extremely slow on the glacier. It is advisable to carry a tent for this reason. Many parties cross the Neve without roping up, some with ropes in their bags and some with no crevasse gear whatsoever. This is a decision that must be made by each member of the party. Crevasse hazard does exist, especially early in the season. I use a GPS whenever I do a traverse. Just a basic unit that lets you follow a track and record your progress will do.
What about North to South? Starting at Rubble Creek and finishing at Elfin Lakes is not always a bad option. I think the best time to do this is later in the spring when the Garibaldi Lake Trail has melted out significantly. This will allow you to hike the first bit of the trail but hopefully, ski all the way to the car at Elfin. Keep in mind though that you’ll be climbing up the most avalanche exposed portion of the route (from Ring Creek up to the Gargoyles). Timing here is critical and should be in the morning before the big avi paths off the Gargoyles get heated up by the sun. A bootpack might be necessary.
Resources:
FATMAP – I’ve loaded two routes for the Neve into Fatmap.
- Standard Route finishing via The Barrier
- Side trip to Summit Mt. Garibaldi
Clark Geomatics Garibaldi Park Map – This is the premier map for the area. A must have for the traverse. The accompanying iphone app is also extremely useful for navigation.
The links for the basic ski touring kit and crevasse rescue kit have been hijacked and clicking on them takes you to an unrelated website
Thank you!
Hey Eric, thanks for the info…the link for the standard route still works and takes me to a Strava page with a downloadable .gpx which I can then view on an alternative mapping software…but the side trip to the Garabaldi summit just takes me to Stava’s home page, wondering if you still had a file available to share that I could then upload to Caltopo or a fatmap alternative.
Thanks