I just picked up a pair of Hagan Alpin skis for a ridiculous clearance price at MEC in Vancouver. They are 150cm long so a bit too short for racing and 70mm at the waist so not the lightest. They are not terribly heavy though (1202.46 gm without bindings according to the scale at school) and seem a bit burlier than my racing toothpicks so I think they will work well as a training and light touring ski when I don’t want to risk damage to the expensive gear.
First, I dropped them off with Brian at Escape Route in Squamish. These guys are the local skimo experts and Plum binding pros. They mounted up a pair of Plum Race 165 bindings. These bindings have 20mm of adjustment in the heel piece which will allow me to use both my Dy.N.A. Evo race boots and my TLT5 touring boots (they have a different sole length).
Unfortunately though the skis don’t have a tip notch for attaching race skins. I don’t want to waste time with slow transitions or buy new skins so I decided a silly cheap pair of skis would be the perfect ones to experiment this modification on.
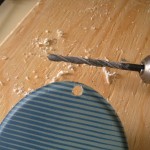
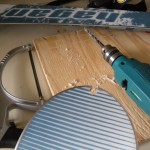
I started out by measuring the notch width in my race skis – 1/4 inch. I headed to the lab at UBC and found the drill and a 1/4 inch bit. I put a hole JUST inside the metal edge at the tip by drilling through the ski pressed against a wood block.
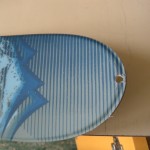
The hole didn’t drill perfectly clean but I was able to clean it up later on. After drilling holes, I grabbed our hacksaw and cut through the edge on either side to open up the notch. Being careful not to punch through and cut the other side of the hole, I finished the notch and cleaned up the drill hole with a razor blade.
After cutting and checking to make sure my skins fit properly in the notch, I applied a healthy coat of slow-cure epoxy around the exposed inside edge of the notch. Now that it has dried, I have a perfect skin tip notch to use race skins on my training skis. Ski and binding review coming soon!
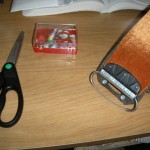
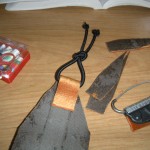
I also decided that an old pair of skins from a fatter set of skis could be rejuvenated and used for training purposes. First though they had to be cut down and the tip re-done for race skis. I started by slicing off the the old heavy BD tip loop. After that I cut the proper tip shape. A small rectangle that tapers to the width of the skin.
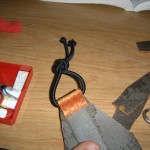
Then I cut a short section of shock cord to serve as my attachment. This is a little over a foot long and for non-race skins I chose a slightly thicker variety. The tab folds over the shock cord and glues together.
Next I broke out a needle and thread and stitched the two flaps together making sure to keep the stitches tight and as close to the cord as possible. With three rows across stitched, I cut off the excess flap.
Thats it! Now they fit on to the skis and will be a solid climbing training pair of skins so I don’t wear out my race gear.
Your Eagle Scout skills are coming in handy! Maybe a little genetic tinkering gift from Grandpa Jack too!
Finished doing this to one pair of skis today, going on a duffey enchainment tommorow, excited to see how it works!
Nice – Post up how it works!
You could even improve it a bit further. When you fasten the cord on skin, fold the skin the other way. So it is all glue to the ski base. Not glue + glue. Instead hair + hair and use a rivet (right word?) to keep it together. Works well even on racing skins. There is no chance for snow to build up.
Hi
I’m thinking about doing this to the tips of a set of alpine skis I have so they’ll hold my race skins. How have the tips held up? Any de-lamination or other issues? Thanks!
Totally bomber. Alpine skis seem to be a bit more durable than skimo skis….