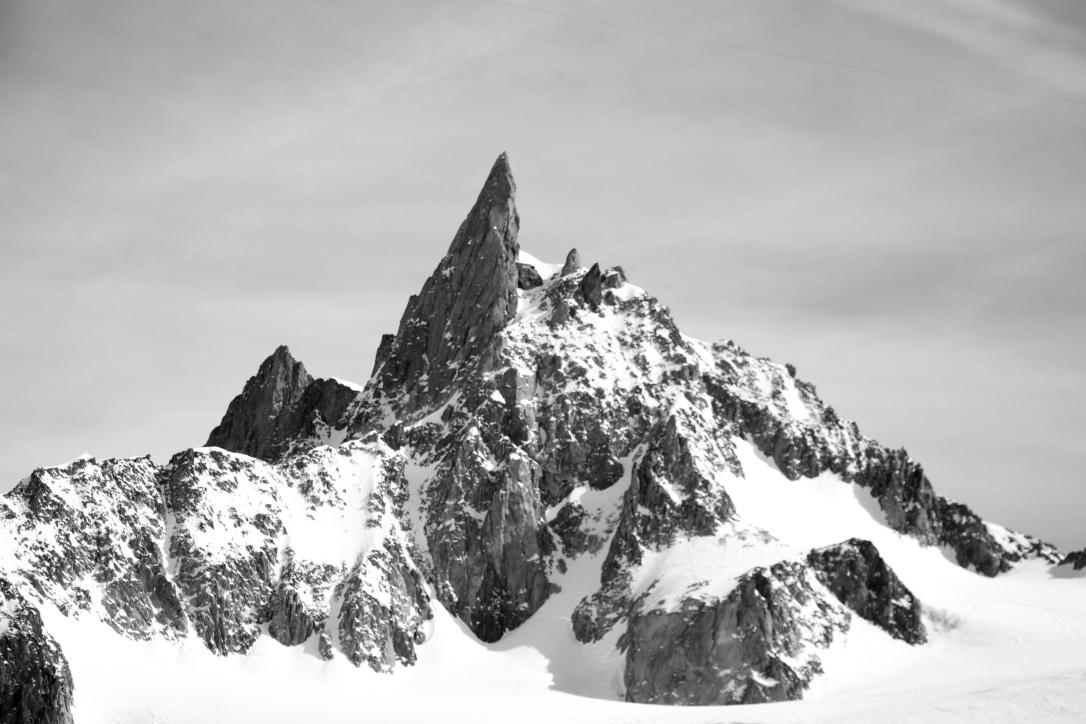
AlpinRunning in the Tantalus range.
Kilian Jornet can definitely take credit for popularizing the idea of light and fast travel in the mountains in a way that many had not considered. His idea of “alpinrunning” is to move with the speed and efficiency of a trail runner but on terrain previously considered alpine climbing. It’s not to say he’s the first to have the idea but definitely to bring it such popularity. His list of alpinrunning routes in Chamonix would make a good tick list for anyone looking to visit.
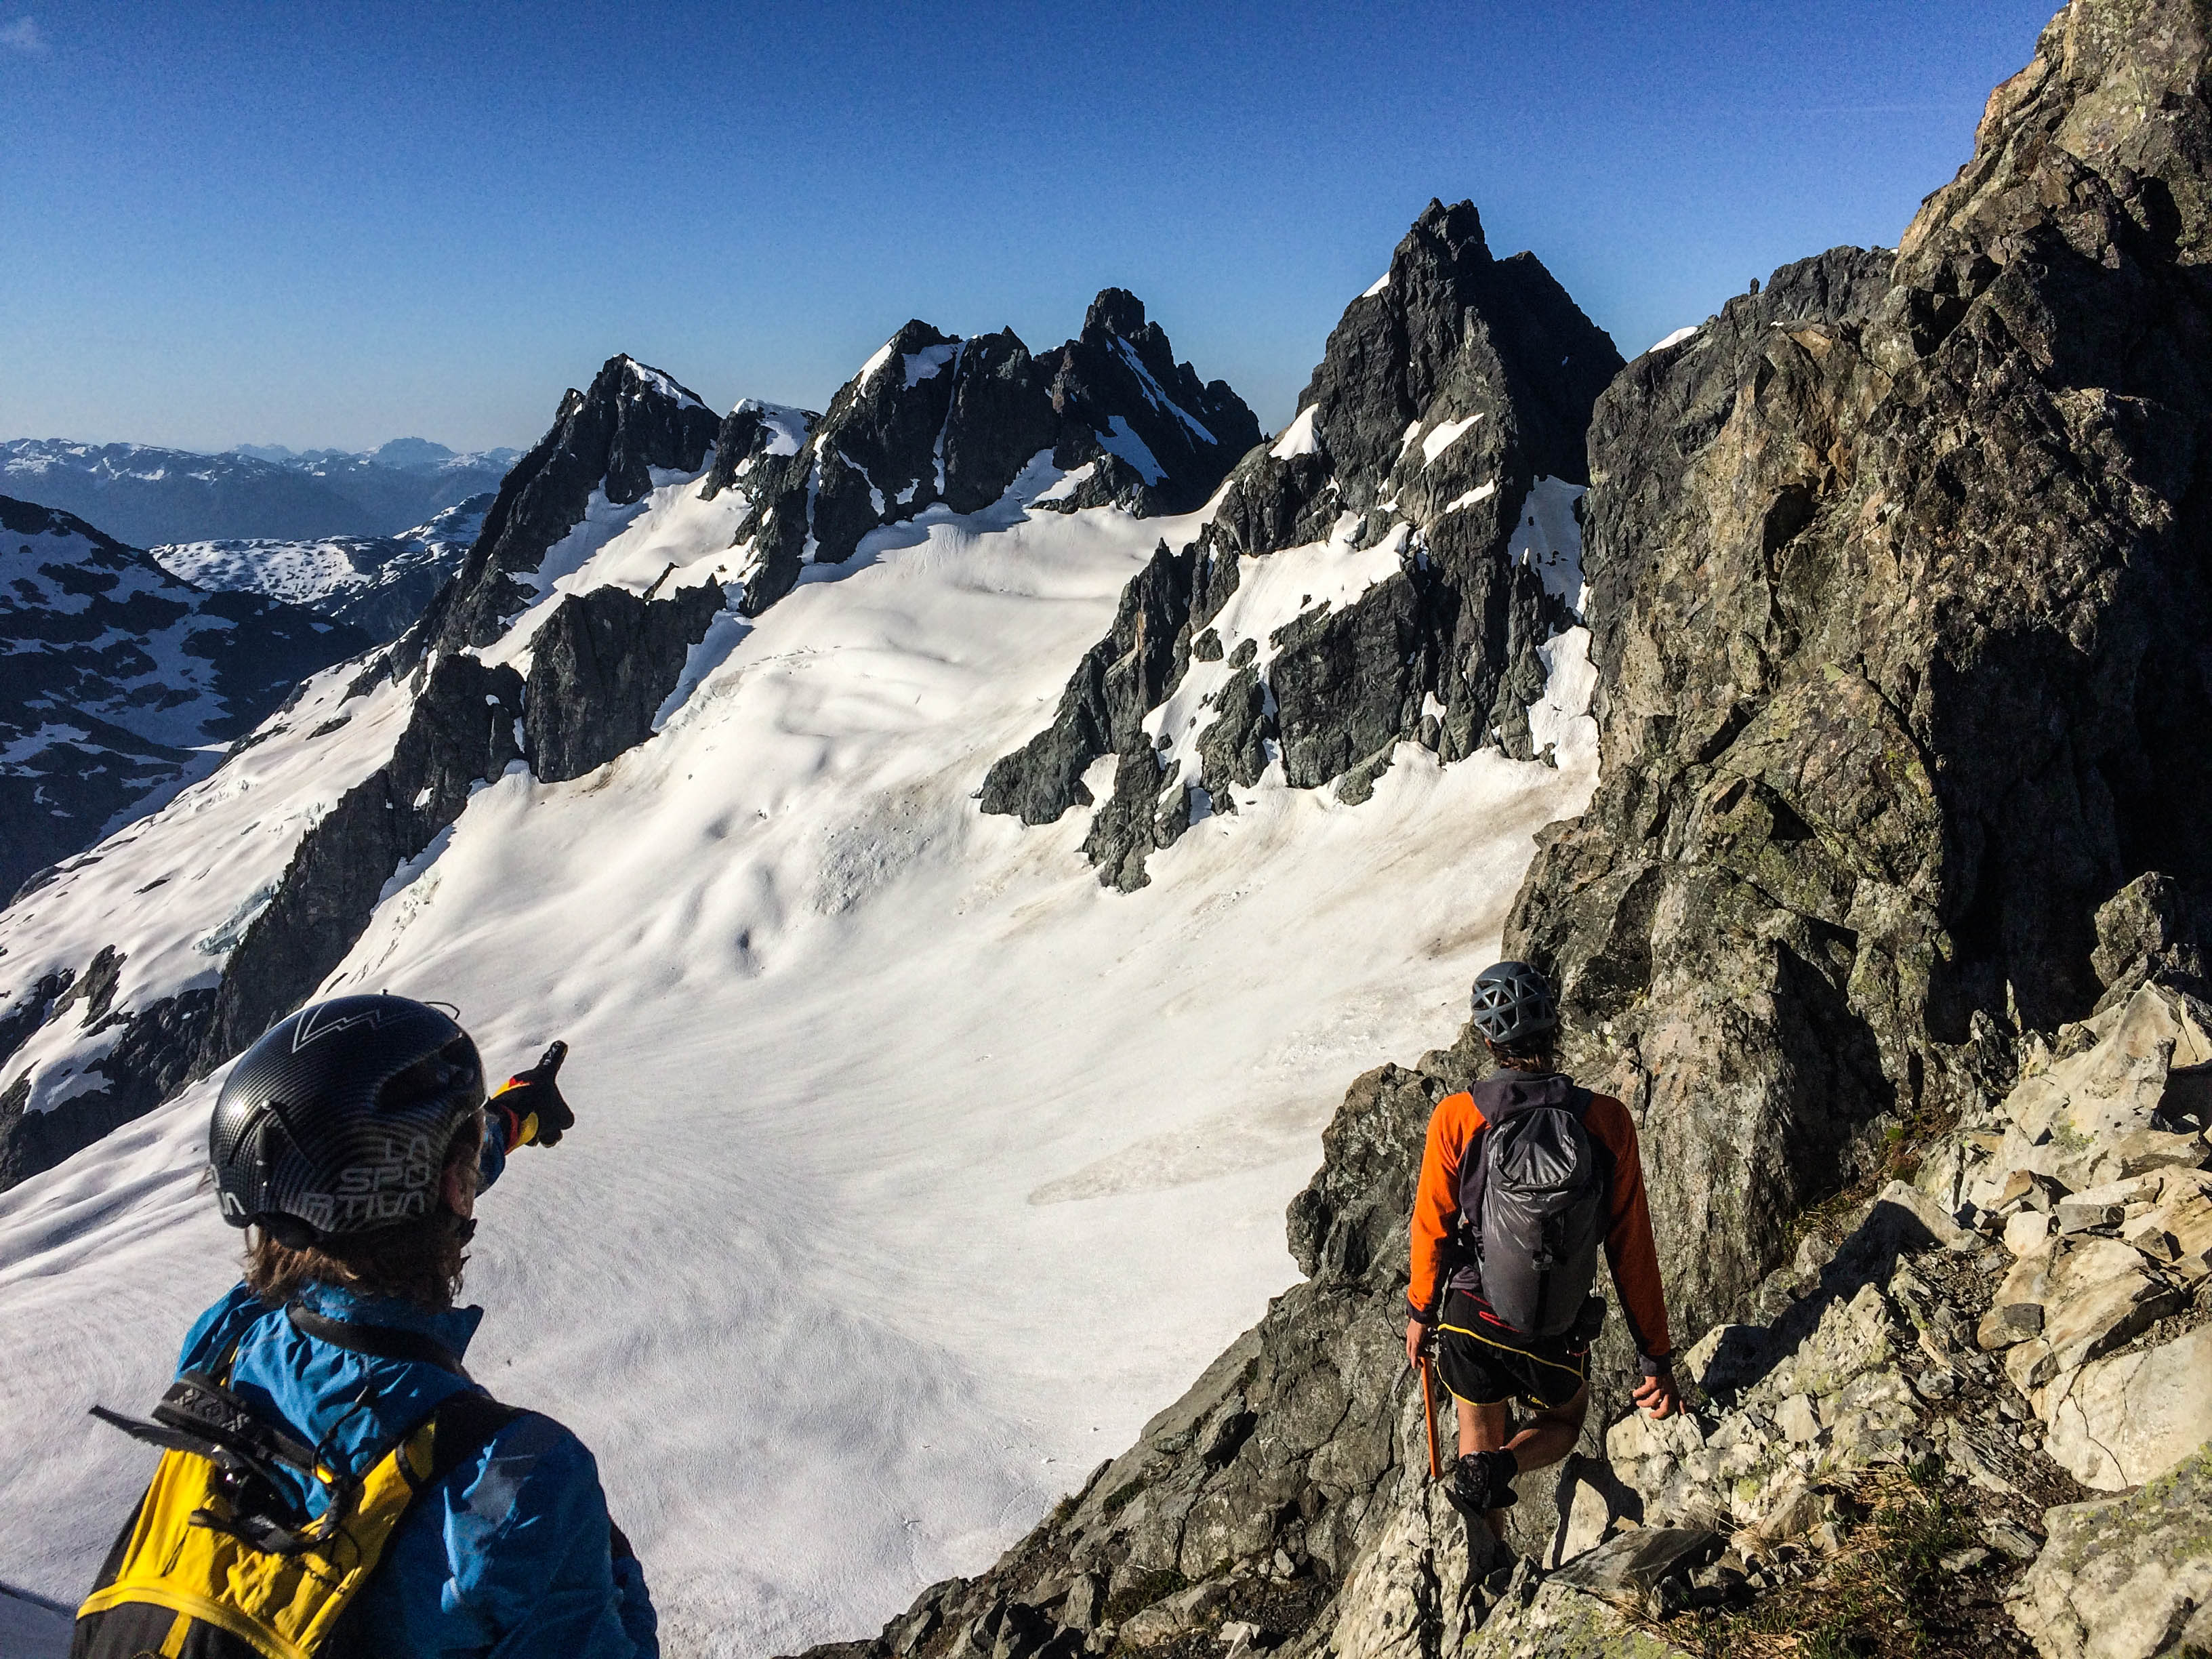
Squamish (and greater SW BC) doesn’t quite have the amazing lift access that Chamonix does. This means that while we have some great alpine scrambling terrain, it has generally more involved (longer) approaches. Consider it training! The list below is by no means exhaustive and has room to grow but includes both scrambles and traditional alpine climbing routes that can be attempted in ‘alpinrunning’ style. All should of course be attempted only when familiar with the skills, conditions, equipment, and so on. Most of these include at least a little bit of ‘proper climbing’ and should be evaluated for tackling solo or roped. Obviously changing conditions dramatically change the routes. The route files included are just to give an idea of the route and shouldn’t be counted on for actual navigation on climbing terrain.
- Squamish Chief Alpine Bypass and Three Peaks – 5.7 – 2hrs
- A good way to avoid the crowds on the main ‘Backside Trail’ of the Chief and get a climbing feel. Wear sticky rubber shoes – the cruxes are all friction slabs. Start by running past the Campground cooking shelter and immediately turn up to the base of the Campground Wall (See Squamish Select) at the very first faint trail on the left. Climb the deep ‘Sunshine Chimney’ route past the Rocket Pig. Arriving at Bullethead Ledge, traverse right for 2-3 minutes, past surprised climbers the base of Sunshine Crack. Follow bushy trails up and right until they start switchbacking. This is where you WILL get lost. Trails lead right, back to the Backside Trail, or left, as faint descent trails from climbs on the Bulletheads. If you do miraculously find the right one, after 5-10min, it will open up onto a beautiful slabby ridge crest marked with cairns. Follow the crest with more difficult sections. Eventually you reach the marked descent route/trail from Bellygood Ledge. Continue up the crest on a slab arete that requires some confidence and is exposed. This can be bypassed in the forest on the left. A short trail section leads to a steeper bit with some Via Ferreta rungs in place. Continue up, following slabby ridges, generally trending left until you arrive at the top of the Black Dyke, a feature splitting the Grand Wall, visible from the highway. Stay along the edge of the cliff until you pop out onto upper slopes. A flat section with several climber memorials gives good views of Mt. Garibaldi. Head towards the summit slabs (Raven’s Castle) and jam up Talking Crack to top out.
- Descend the First Peak using the Via Ferrata system that drops north into the gully with the Second Peak. Ascend the Second Peak via the standard route, or deviate slightly left on slabs to avoid the chains and ladder.
- Continue running north to descend into the next gully. Descend the gully ~5min (south) and look for a log that bridges from the gully tail onto the left wall. Shimmy along the log and follow a faint trail to gain the large broad low-angle slabs on the Third Peak all the way to the summit.
- Descend to the North via more Via Ferrata rungs. Follow a trail that wraps right, east and then south, to rejoin the normal Backside Trail and down to the parking lot.
- Minimal Gear – None
- Route File
- Crater Slabs on Crown Mtn – 4th Class – 3hrs
- The broad south east facing couloir that starts in Hanes Valley and ascends to the summit of Crown Mountain can be climbed in summer conditions (make sure there’s no snow) with sticky shoes. Wear a helmet to protect from tourists throwing stuff off the summit. Approach via Lynn Valley/Hanes Valley or from Grouse Mountain via the Goat-Crown Pass. From the summit of Crown, descend the well worn standard route (see Scrambles in SW BC).
- Minimal Gear – Helmet
- Route File (From Grouse Mountain)
- Co-Pilot, Sky Pilot, Habrich Loop – 4th Class – 6hrs
- From the Sea-to-Sky Gondola, run the Shannon Creek Road to Skyline Ridge Trail (bushy) and ascend the West Ridge of Copilot until you reach the snowfield, turning around the north side. Ascend the main couloir on semi-solid but shattered rock to the summit. Not recommended if other parties are in the couloir above you. Descend by down climbing the route or make 4x15m rappels off bolted stations. Continue east, down shattered rock to the Stadium Glacier.
- Climb the standard West Ridge on Sky Pilot (see Scrambles) to the summit. Descend Sky Pilot by reversing the route (recommended) OR down the East Face to Gunsight Gap and down the north facing Gunsight Gap Couloir (only early season when the couloir is well filled with snow!). The North Ridge can also be down climbed (with some potential rappels and steep snow down climbing) but is again not recommended.
- After descending Sky Pilot, contour around it’s North Face to gain the ridge that wraps around towards Habrich (and forms the headwaters of Shannon Creek). Descend along the ridge to a low col and pick up a flagged and improved trail that heads to Habrich. At the lowest point (in a col at the feature known as The Brain), a 5th class cliff is protected with fixed ropes. Continue towards Habrich and when the trail turns to bypass Habrich on it’s south side, continue on the ridge via faint trails to meet the base of the E Ridge.
- Climbing shoes or sticky rubber are recommended. Follow the line of least resistance (and trimmed trees) up cracks and slabs. Nothing should be more difficult than 4th Class until you reach a large crack/chimney that requires delicate moves to gain but looks more intimidating than it is. At the top of the crack, you’ve gained a large treed ledge that wraps left around the south side of the peak. Follow the ledge until easy slabs and gullies lead up to the summit (alternatively, climb the rest of the E Ridge direct on low-5th terrain).
- From the summit, descend via the West Face Route. This is equipped with three sections of fixed batman ropes to aid in descent (as of 2017). They can be very difficult to find from above so some searching may be required. Pink flagging may mark the tops of each ropes but significant down climbing between roped sections is required. If you get too far skier’s right, you will see bolts for the ‘Escape Velocity’ Route – work back skiers left. Alternatively you can rappel Escape Velocity entirely with a 60m rope.
- At the base of Habrich, you can descend the climber’s trail directly south to hit the ‘Sky Pilot Valley Road’ and return to the Gondola. Alternatively, you can continue west along the ridge crest. The trail is faintly broken and marked with flagging. Bypass two of the intermediate bumps on their north sides and see some spectacular terrain. The crux of the route is descending from the final bump towards the S2SG and connecting with the end of the marked ‘Al’s Habrich Ridge Trail’. This can be exceptionally tricky after a long day, due in part to a network of goat paths and partial trails. A GPS track is helpful.
- Minimal Gear – crampons in late season useful for Stadium Glacier, harness and 30m rope if rappelling Co-Pilot, 60m rope if rappelling Escape Velocity.
- Route File
- Blackcomb Buttress – low 5th – 3hrs
- Start from the valley by climbing the Blackcomb Ascent Trails and then taking cat tracks towards Lakeside Bowl OR ride the lifts up to Horseman Hut at the top of 7th Heaven, then run down to the Lake in Lakeside Bowl.
- Ascend snow or scree slopes below the DOA couloir on Blackcomb Peak.
- Just before the opening of the DOA couloir, traverse left onto the rock rib that borders it. Good rock on the rib passes through several cruxes that are all well equipped with holds (See Alpine Select).
- From the summit of Blackcomb, the quickest descent is down the North Ridge to the low point and then down snow into lakeside bowl. This may not be possible in later season and it may be necessary to descend ice slopes on the Blackcomb Glacier and then down the Glacier road or traverse the top of the Horstman Glacier to get back to the Horstman Hut.
- Minimal Gear – Helmet recommended. Crampons/Ice Axe may be necessary for approach slopes and descent down Blackcomb Glacier.
- Route File (from the lifts – start at the parking lot for more vert!)
- Traverse of the North and South Twin Sisters (Washington State) – 4th Class – 5hrs
- The rock of the Twin Sisters is an extremely grippy (abrasive) variant that makes for some awesome scrambling and sore hands.
- Access is slightly complicated due to logging on the approach roads so investigate the latest situation. A mountain bike will take about the same amount of time to approach the peaks but will dramatically reduce the time on the road returning to the car.
- We traversed up the standard route on the South Twin, then down onto the glacier to the East, then the SE ridge on the N Twin, and down it’s standard West Ridge. Both standard routes are in good condition and route finding easy. Descending from the S Twin was challenging to find an easy spot to gain the glacier.
- The SE Ridge of the N Twin was significantly more broken up than the standard routes and we detoured onto the S side of the crest many times in broken, chossy terrain.
- Mandatory Gear – Helmet, Crampons/Ice Axe may be helpful for descending onto the glacier
- Route File
- Wedgemount Lake and the Armchair Traverse – 4th Class – 6hrs
- The Wedgemount Lake Group is an excellent zone for scrambling (and ski mountaineering). One of the premier scrambles is the ridge that connects Mt. Cook to Mt. Weart above the Armchair Glacier.
- Climb the Wedgemount Lake Trail to the hut. Ascend the southern slopes of Mt. Cook. There’s no great way to go here, it’s all just scree. Avoid the steepest bits. From the summit, follow the ridge crest towards Weart and a low col. The ridge beyond the col becomes quite solid but a very exposed and engaging scramble. Some sections can be bypassed on snow but sticking to the crest is good. Several small downclimbs keep it exciting. The final section to the summit of Weart is excellent!
- From the summit, descend to the lake/hut via the standard route (Scrambles in SWBC).
- It is also possible to continue along the ridge (lot’s of scree, some snow, and a bit of slab) to gain the NE Arete of Wedge. This is a classic mountaineering route and is highly recommended. Better earlier in the season (June/early July) as it melts to rock and ice in the late summer, it is a perfect snow arete that steepens just as you gain the summit. The descent is best by reversing the route and descending the Wedge Glacier. The alternative descent is via the SW slopes of Wedge to the Wedge-Parkhurst Col (see Scrambles in SWBC) and is not recommended – a giant scree slope.
- Minimal Gear – Helmet recommended. Crampons/ice axe may be useful
- Route File (full Wedgemount Traverse but includes Armchair Traverse from Cook to Weart)
- North Rib of Mount Niobe – 4th Class – 8hrs
- My all-time favourite scramble in BC. Approach via the Lake Lovely Water trail (similar gain/time to the Wedgemount Lake Trail) and run south around the lake to the sandspit camp. Climb up into the Niobe/Iota Basin and gain the north slopes of Niobe. This may be snow in early season or rock slabs/scree in late summer. Some tricky route finding and dirty slab climbing leads to the prominent North Rib. Here the rock quality improves significantly though bits of bush here and there interrupt the quality. Stick to the crest and follow the path of least resistance directly to the summit.
- Descend over Pelops and Iota via the standard route and back down to the basin OR continue along the ridge to climb Omega via it’s W Ridge. Descend Omega by reversing the ascent route and back into the basin or by making 2-3 30m rappels down the E Ridge and following goat paths back to the lake.
- Minimal Gear – Helmet recommended. Crampons/ice axe for approach/descent slopes unless entirely snow-free. Rappel equipment if descending Omega.
- Route File (Starts at Sandspit camp and includes a traverse to Omega Peak)
- Tantalus Traverse – Steep snow/ice, 4th Class, Rappels – 11hrs
- A perfect alpinrunning route/test piece. Start at the Sigurd Creek Trailhead and climb the north slopes of Pelion until forced to turn around it’s east side on glacial slopes. A descending traverse across the south face of Pelion brings you to the Zenith-Tantalus Col.
- Climb the North Ridge of Tantalus – one of the most classic alpine rock routes in the area (See Alpine Select). Amazing exposure down to the Rumbling Glacier plus views of the ocean on both sides, Squamish, Garibaldi Park, and the icecaps to the north make this easily one of the coolest places to be. The route is generally very high quality scrambling on easy terrain. A short broken section near the summit is best with some snow (otherwise steep loose gravel but low exposure). The summit of Tantalus is a spectacular spot.
- Descend by making 4x30m raps via the ‘low route’ on fixed rap stations. Traverse a rotten ledge skier’s right to drop onto the snowfield below Dione. A belay here using fixed pins may be helpful if the snow has pulled back later in the season.
- Gain the south shoulder of Dione and descend a west facing couloir to the Dione Glacier by down climbing (possible to rappel). Traverse the Dione Glacier to the Haberl Hut and then continue across the Serratus Glacier to the Serratus-Ionia Col.
- Drop down to the Crescent Glacier and then traverse hard left below the South Face of Serratus. Gullies may tempt you downwards but don’t be tricked – they cliff out mid-way. The best route crosses a deep gully/creek and then a short scramble up loose dirt gets you onto a steep flower meadow (covered in snow early in the season). Descend this directly until you hit alder then traverse right through a short patch. Continue descending along the edge of the alder patch until rock slabs let you drop into the gully on your right and then down to Russian Army Camp (a GPS route here is invaluable – many have been derailed by following the wrong gully to Russian Army Camp).
- Gain the trail that leads around the north side of Lake Lovely Water and descend to the river.
- Many excellent variations exist on this route that could include any additional Tantalus Range summits along the way!
- Minimal Gear – Helmet. Crampons/Ice Axe, 60m rope (or 2x30m tied together), slings for crossing cable car.
- Route File
- Mt. Shuksan Fischer Chimneys – 4th Class, steep snow/ice – 6hrs
- From the Lake Ann trailhead at Mt. Baker ski area, pleasant sub-alpine running leads to Lake Ann. Ascend steep scree and rock slopes to the base of the Fischer Chimneys. Two 4th class cruxes look slabs but are well endowed with holds. The upper chimneys open up and the trail becomes braided, watch for carins and beware of other climbers causing rockfall.
- Gain the shoulder below Winnie’s Slide, a steep section of snow/ice. Continue through a gap in the ridge to the Upper Curtis Glacier and traverse, avoiding crevasses to gain the snow arete called Hell’s Highway. At the top, a glacial plateau is capped by the summit pyramid. The standard route takes the obvious gully up the middle to the summit. A slightly harder (low 5th) route follows the ridge along the right hand skyline.
- Reverse the route to descend.
- Minimal Gear – Helmet. Crampons/Ice Axe for Winnies Slide
- Route File
- Ensakwatch Enchainment – 5.7 – 5hrs
- Check for logging road conditions but a relatively short grunt up from the valley leads to the ridge crest and the base of the North Nesakwatch Spire and follow the route as described in Alpine Select over the North and South Spire.
- The descent to the pass between the South Spire and Rexford requires a 30m rappel. Rexford can then be climbed from the North. Reverse your ascent route and then continue down the scramble route on the West Ridge of Rexford to return to the trail.
- Minimal Gear – Rock shoes, 60m rope for descent raps
- Route File
- Circumnavigation of Garibaldi Lake – 5.9 ~23hrs
- The only one on my list that I haven’t completed, though it is high on my list and I’ve attempted it once. Only completed (as far as I know) by Peter Croft in ~23 hrs in the 1980s.
- From the Garibaldi Lake Trailhead, ascend the trail to Taylor Meadows and continue to the Cinder Flats to climb Castle Towers via the Standard Route (See Alpine Select for all route descriptions). Descend to the Sphinx Glacier and traverse along it’s top edge.
- Tag Mt. Carr via the standard route.
- Croft climbed the North Ridge of the Sphinx (5.9, 6p). Alternatively, the Southwest Ridge (used by Croft for descent) is 4th class.
- From the ridge crest, Guard Mtn is easy to tag. Descend from Guard Pass towards the lake before climbing back up to Price Mtn. Find the cleared trail at tree-line that leads back to the day-use huts at Garibaldi Lake and descend the Garibaldi Lake Trail.
- Minimal Gear – Crampons/Ice Axe depending on snow conditions (recommended)
-
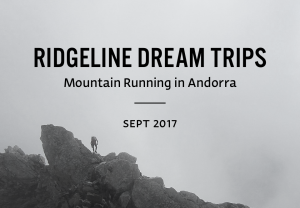
Does this all sound like it’s up your alley but not quite ready to jump into it on your own? Head over to Ridgeline Dream Trips (click the pic) for a mountain running camp in Andorra this September!
Resources:
- Squamish Select by Marc Bourdon
- Squamish Hiking by Marc Bourdon
- Scrambles in SW BC by Matt Gunn
- Alpine Select: Climbs in Southwest British Columbia & Northern Washington by Kevin McLane
- AlpinRunning Gear:
- Footwear – Sportiva Mutant, Dynafit Vertical Pro, Salomon XA Alpine
- Pack – UD AK Mountain Vest or FastPack 25
- Helmet – Petzl Sirocco
- Crampons/Ice Axe – Petzl Leopard or Irvis Hybrid and Petzl Ride
- Harness – Petzl Altitude
- Rope – Petzl RAD
- Communication – iPhone & InReach